How to Setup a Virtual Machine
How to Setup a Virtual Machine
Edit: As of January 28, 2020 Kali’s installation is a bit different. The main core of everything is still the same. The main difference is now the default user is not root and the login credentials are kali:kali. Read more here.
What is a Virtual Machine?
A virtual machine (VM) is a virtual environment that functions as a virtual computer system with its own CPU, memory, network interface, and storage, created on a physical hardware system. Software called a hypervisor separates the machine’s resources from the hardware and distributes them appropriately so they can be used by the VM. If you would like to learn more about virtual machines then click here.
VirtualBox Installation
For this demonstration we are going to use VirtualBox. You can start by navigating to its main page here and then select the appropriate download according what operating system you are currently running on your machine. For this example, we are using a MacBook so select the MacOS install.
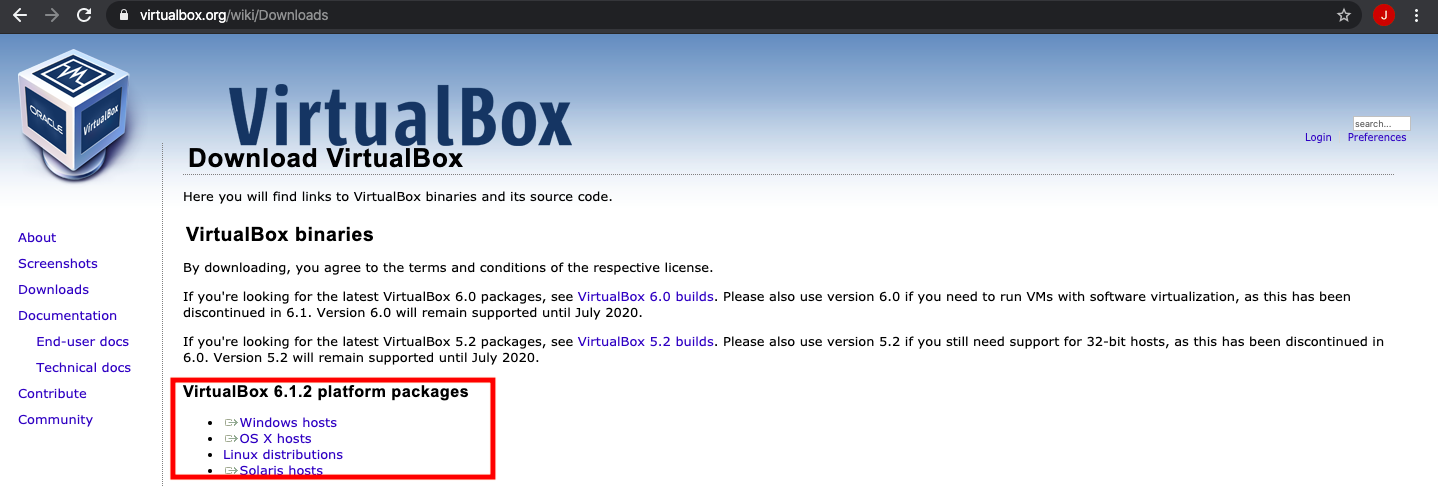
Once the downloader has installed, go ahead and run the installer to the VirtualBox application on your machine.
Setting up a Kali VM
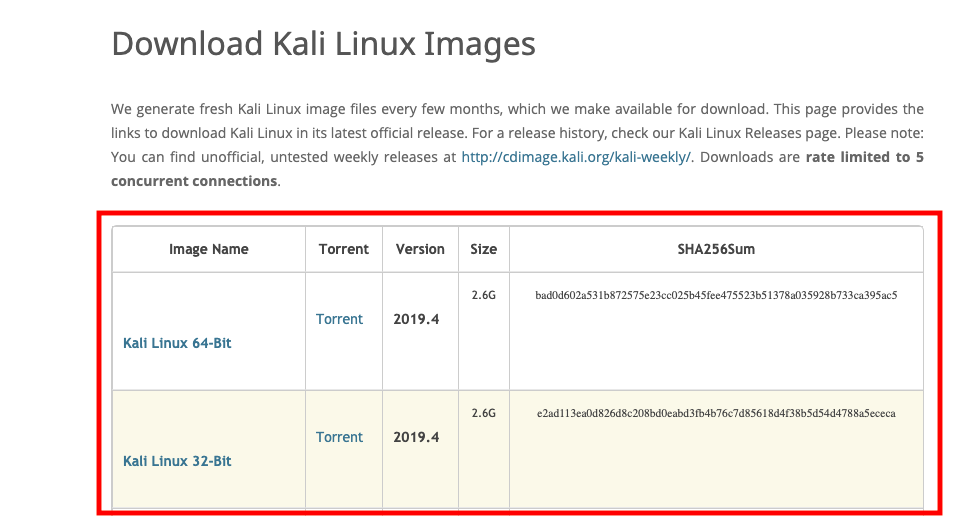
After installing your VirtualBox machine, we will next download our Kali Linux image to put on our new VirtualBox application. Depending on your machine, download either the 32 or 64-bit image. The download for this Kali Linux image can be found [here](https://www.kali.org/downloads/)
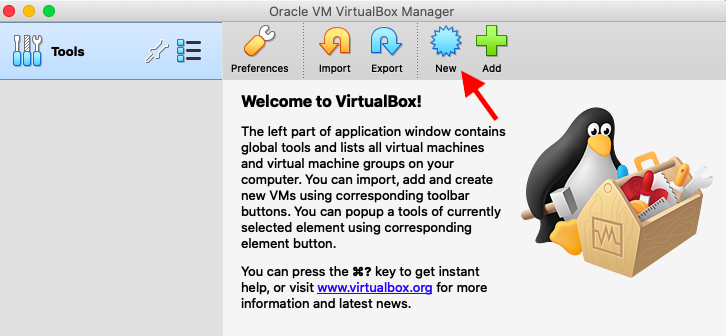
Our next step is to open up our VirtualBox application and then select the 'New' icon to setup and new virtual OS.
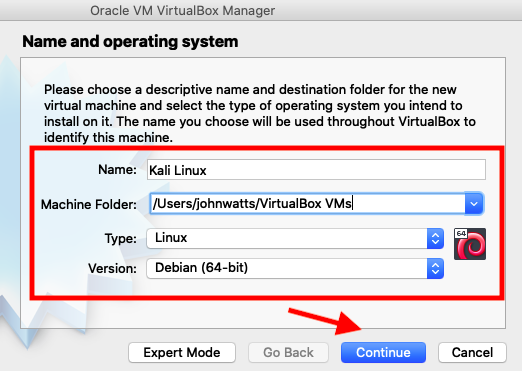
You will then be prompted to enter in a name for your VM image. In this case we choose to call it 'Kali Linux'. Be sure to select Type: Linux and Version: Debian (64-bit) from the drop down menu. Once completed, click the Continue button.
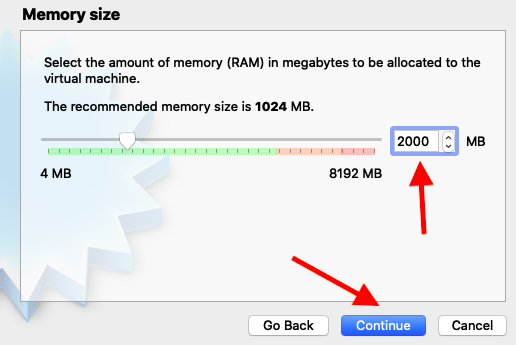
From here, VirtualBox will ask you for how much RAM you would like to allocate. You can select the default amount (1024MB or 1GB) of RAM but we recommend 2000MB or 2GB of RAM as this will make your virtual machine run faster. After this step, click Continue.
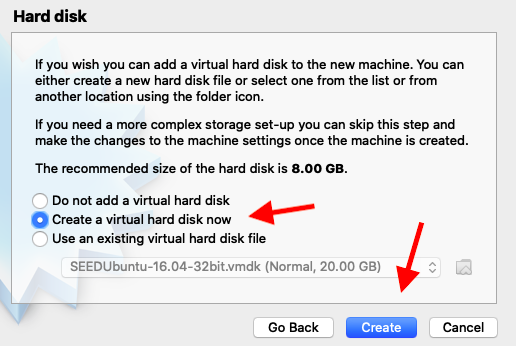
Next, you will be prompted to create a virtual hard disk for your VM. Select the 'Create a virtual hard disk now' option and then click Create.
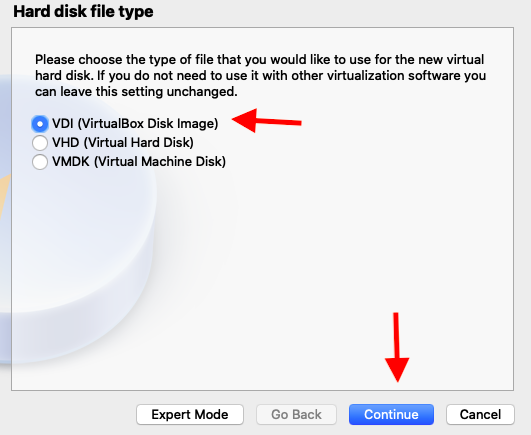
Select, the 'VDI (VirtualBox Disk Image)' option and then click continue
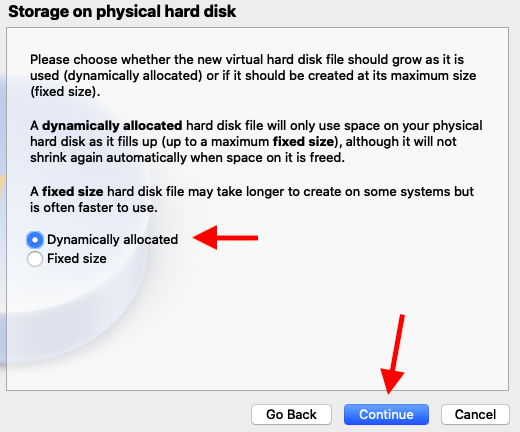
For your storage, we recommend to select the 'Dynamically allocated' option and then click Continue.
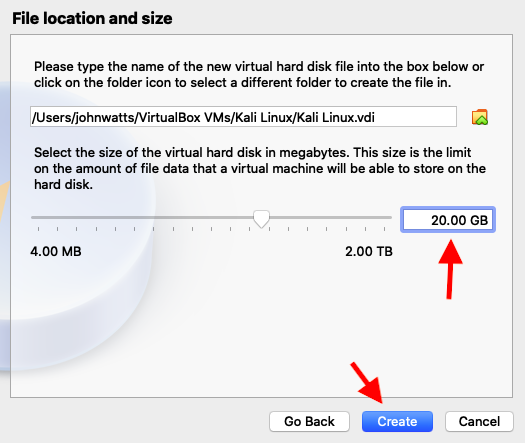
We recommend that the size of your VM be at least 20.00GB, but you can customize this to your own needs. Once done, click Create.
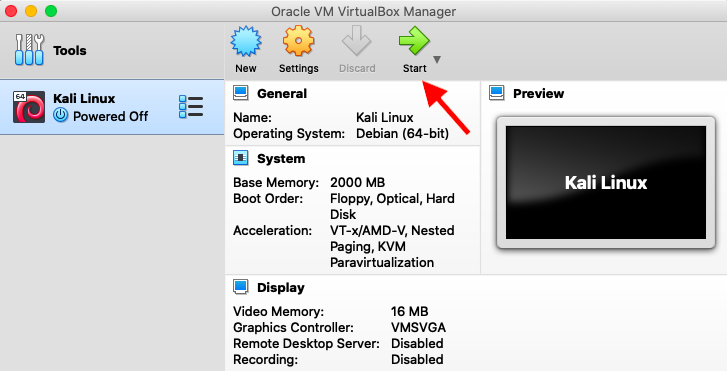
You will now see your new Kali VM image that has just been created in your VirtualBox application! To run your VM simply click the Start icon.
Configuring your Kali Box
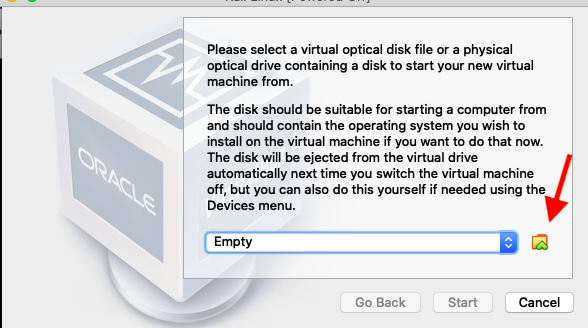
Once your Kali VM in running, you will be prompted to select the location of your Kali Linux download. Click the folder icon to open up the location of kali linux .iso file.
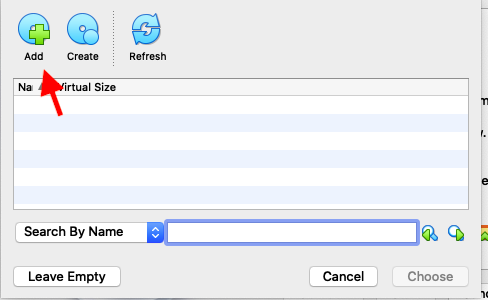
Click on the 'Add' icon in the upper left corner
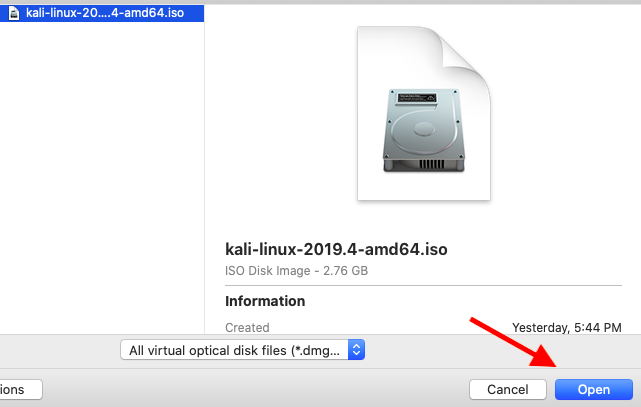
Next, select your kalix linux .iso file. By default, it will be in the 'Downloads' folder. Once selected, click the 'Open button'.
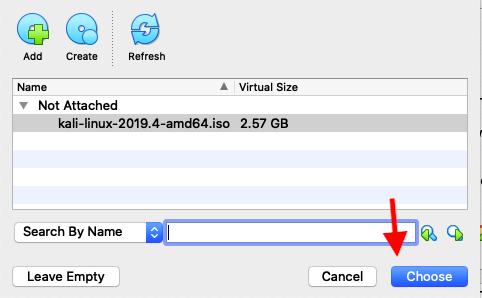
Once selected, click the choose icon in the bottom left corner.
The Kali OS will now boot up and you will be prompted to install it on your VM. Be sure to select the 'Install' option and then hit 'Enter/return' on your keyboard.

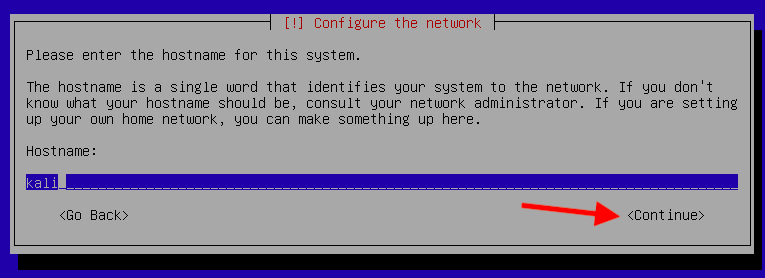
For your host name for the system, just leave this as the default and hit 'Enter/return' on your keyboard to continue.
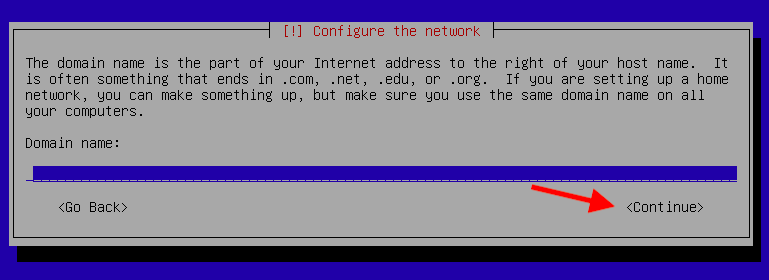
For your domain name for the system, just leave this as the default and hit 'Enter/return' on your keyboard to continue.
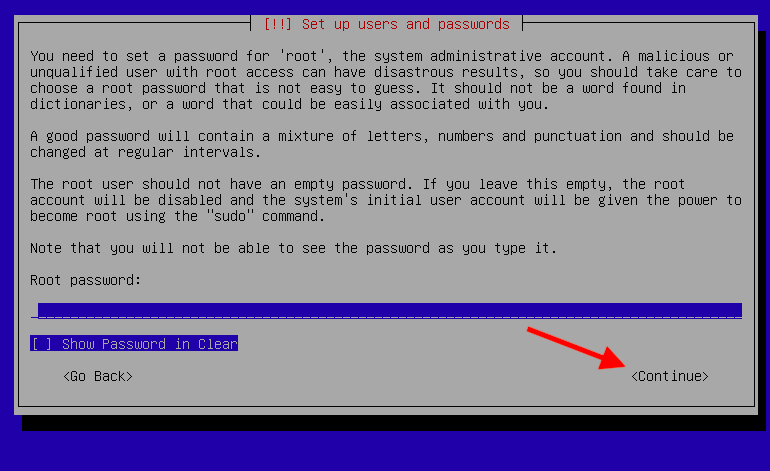
- You will now be prompted to enter in a password to log into your Kali Machine. Once satisfied with this password hit the 'Enter/return' on your keyboard to continue.
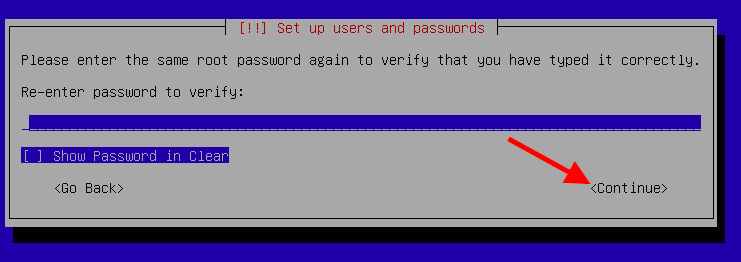
Re-type your password again and then hit 'Enter/return' on your keyboard to continue.
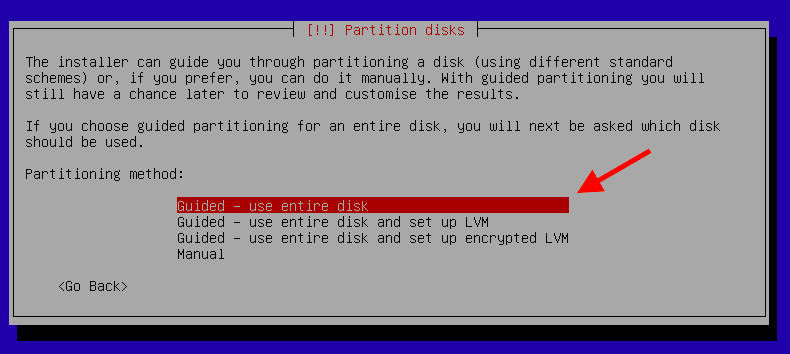
For your disk partition, select the 'use entire disk' option and then hit 'Enter/return' on your keyboard to continue.
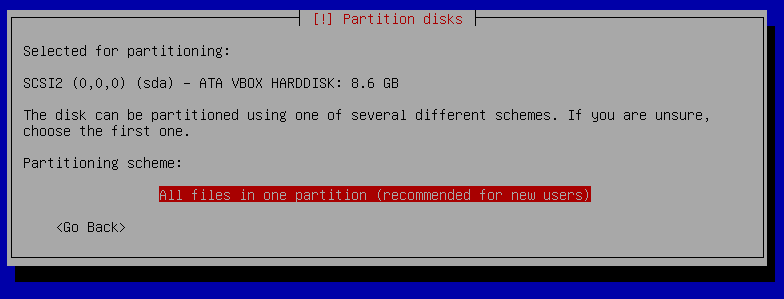
Select the 'All files' option for your disk partitioning and then hit 'Enter/return' on your keyboard to continue.
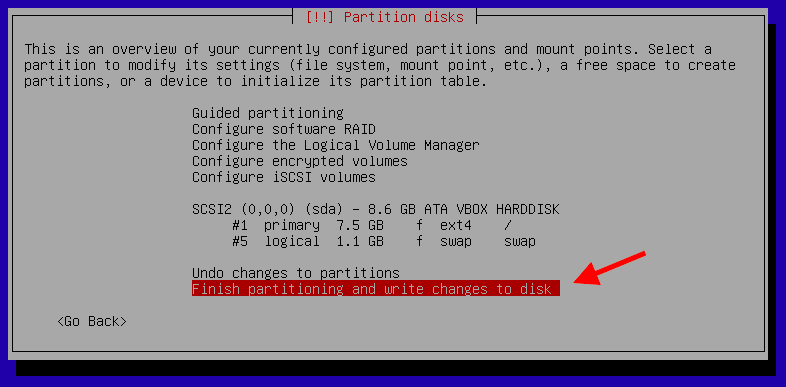
Confirm your new changes and then select the 'finish partitioning' option. Once satisfied, hit 'Enter/return' on your keyboard to continue.
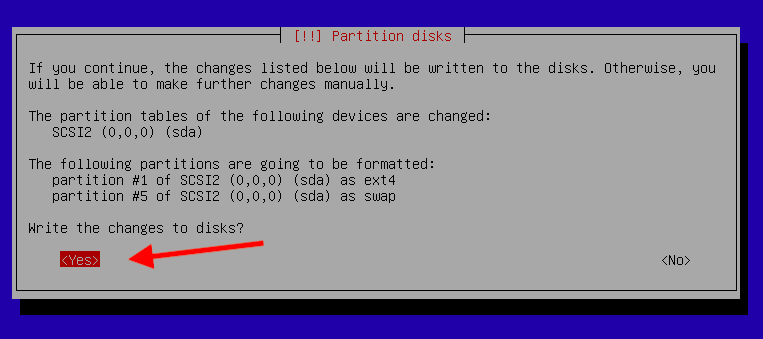
Select the 'Yes' option to put this changes in effect and then hit 'Enter/return' on your keyboard to continue.
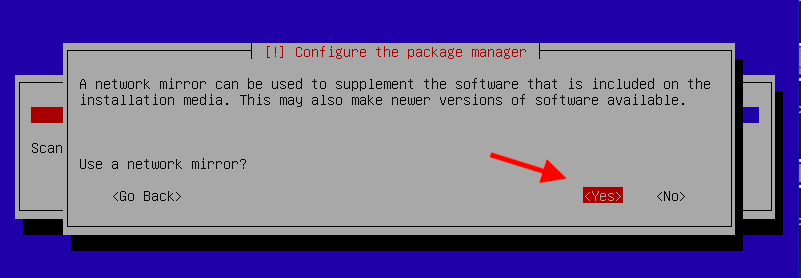
You will now be prompted to select a network mirror. Select 'Yes' for this option as it will allow us to install guest additions and other packages we will need. Then, hit 'Enter/return' on your keyboard to continue.
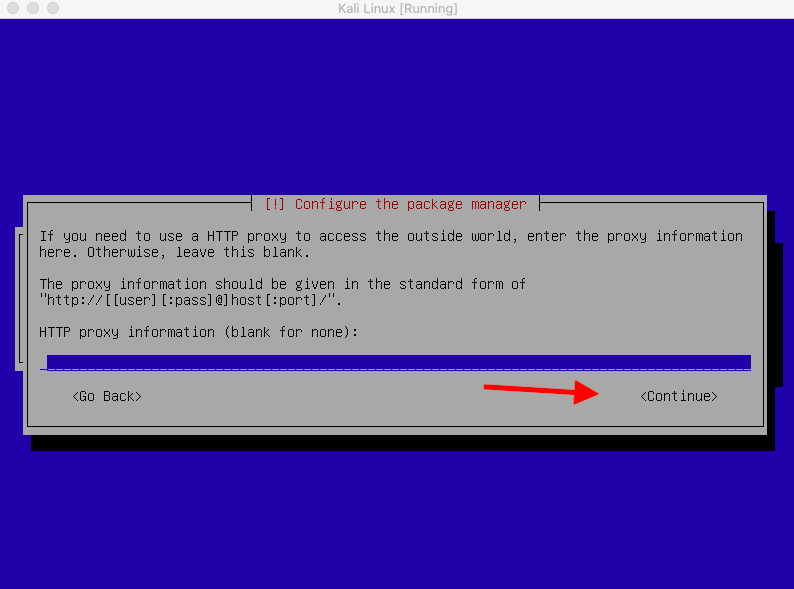
For your HTTP proxy for the system, just leave this as the default and then hit 'Enter/return' on your keyboard to continue.
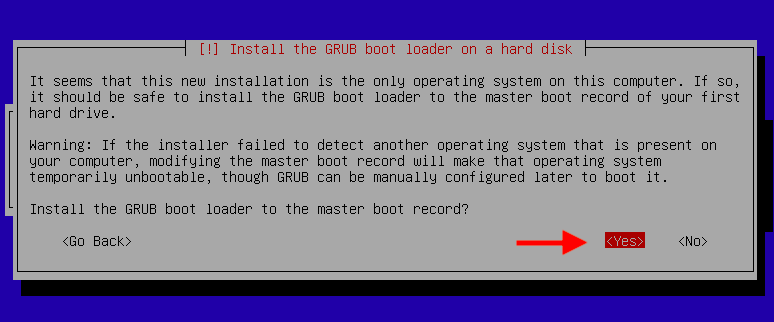
Select the 'Yes' option for the GRUB boot loader and then hit 'Enter/return' on your keyboard to continue.
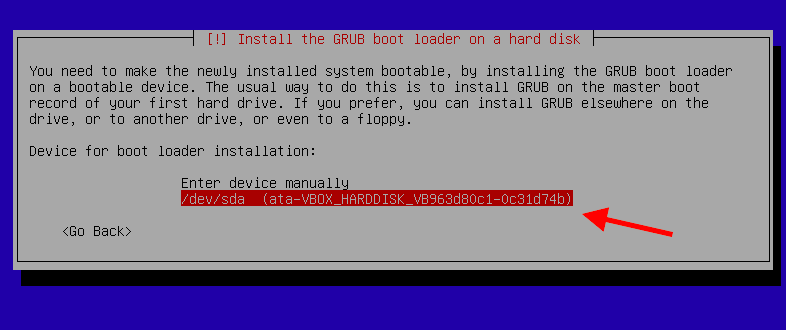
Select your install medium for the GRUB boot loader and then hit 'Enter/return' on your keyboard to continue.
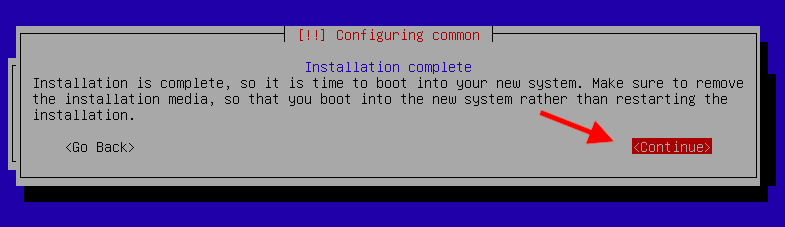
Once your installation is complete, select the 'Continue' option and then hit 'Enter/return' on your keyboard to continue.
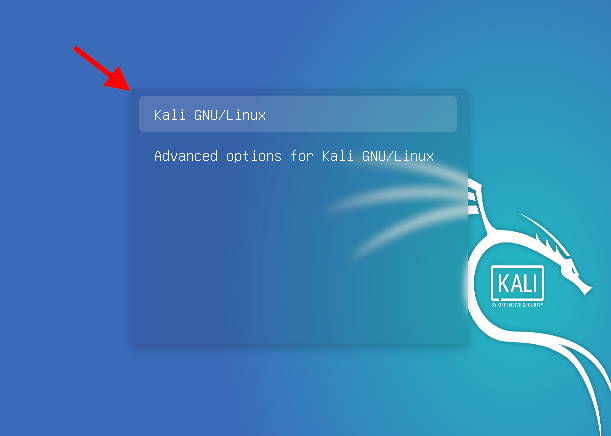
Your Kali VM will now reboot. Once your new Kali OS has downloaded inside of your VM, select the 'Kali GNU/Linux' by hitting 'Enter/return' on your keyboard.
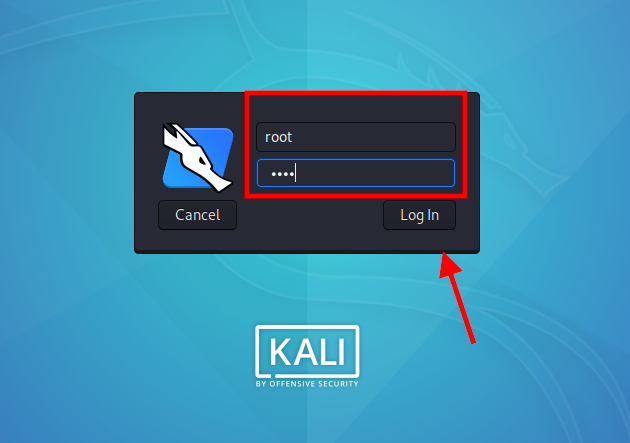
Enter in your username (default is root) and your password that you created early in the installation and then select 'Log in'.
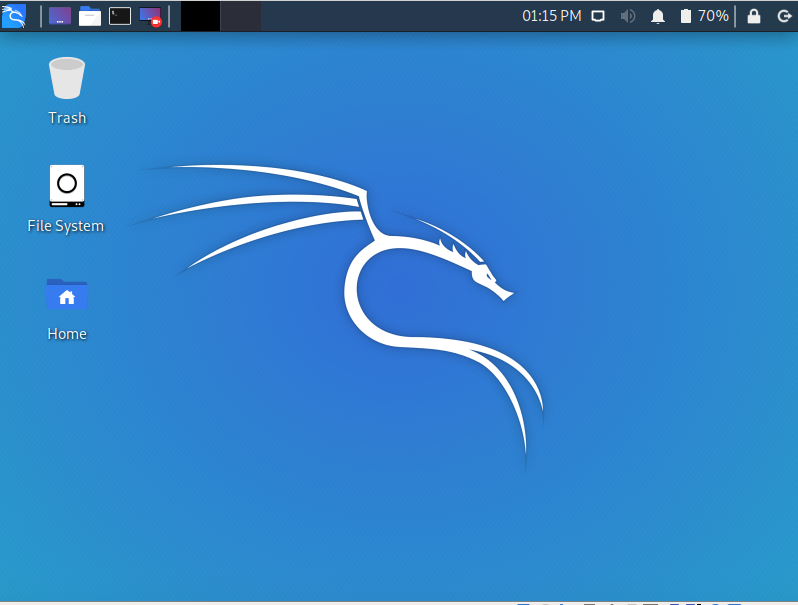
Congratulations! You have now set up your new Kali VM!